Part 2: Do’s of Event Websites
We’ve already covered some of the biggest event website mistakes to avoid in Part 1 of our series; now, it’s time to talk about the things you should be doing when planning your event website.
Include Contact Information on Every Page
If you’ve ever spent more than a minute or two trying to locate contact information on a website, you probably know just how frustrating this can be. While it’s perfectly fine to have a dedicated “contact us” page somewhere on your site’s navigation menu, it’s also good practice to include basic contact information on every single one of your event website’s pages. This way, visitors will never have to feel the frustration that comes along with scouring a site for contact information if they have a question about your event.
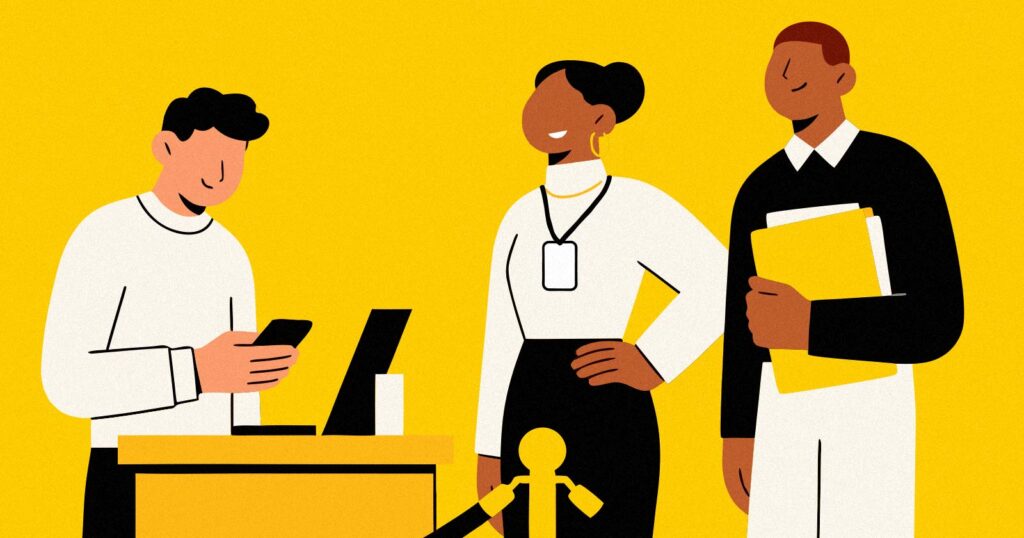
Make It Personal
Potential event attendees and curious website visitors will likely want to know more not just about your event, but about your team. Creating a dedicated “about us” or similar page with photos of your team, along with an interesting story about how the event came to be, can further engage your site visitors and pique their interest in your event as well. After all, you are asking these visitors to spend their hard-earned money on your event—and people want to feel they can trust you before they shell out that money. And of course, when you include a strong call-to-action with an event registration link at the end of the page, you may even be able to encourage readers to register on the spot!
Stick With Top or Left Navigation
Another important lesson in user-friendliness: website navigation should generally be located along the top of left side of your event website. Right-side navigation or any other configuration can be confusing to your visitors, creating an unnecessary obstacle that prevents them from finding the information they need about your event. More than likely, this is something your website designer will consider a no-brainer, but it’s worth making sure of before you clear any design that he or she runs by you.
Integrate Social Media Buttons
Last but not least, don’t forget to have your web designer integrate social media buttons and links into your event site. It’s likely that most (if not all) of your prospective attendees are active on sites like Facebook, Twitter, and LinkedIn, so having an easy way to access your event’s social media pages is a great way to encourage them to interact with you on these platforms and stay up to date on event news. These social media buttons will also invite visitors to “follow” or “like” your event pages, which can, in turn, help spread the word to others who may be interested. In a way, this is like a free form of advertising.
These simple yet effective web design tips can go a long way in making your event page a success, especially from a user-experience standpoint. Be sure to keep these guidelines in mind and discuss them with your web designer as you begin planning your site!
Part 1: Don’ts of Event Websites
Part 2: Do’s of Event Websites
Part 3: Steps and Considerations to Get Started