Event Registration
Onsite Event Badge Printing: Equipment, Workflow & Best Practices
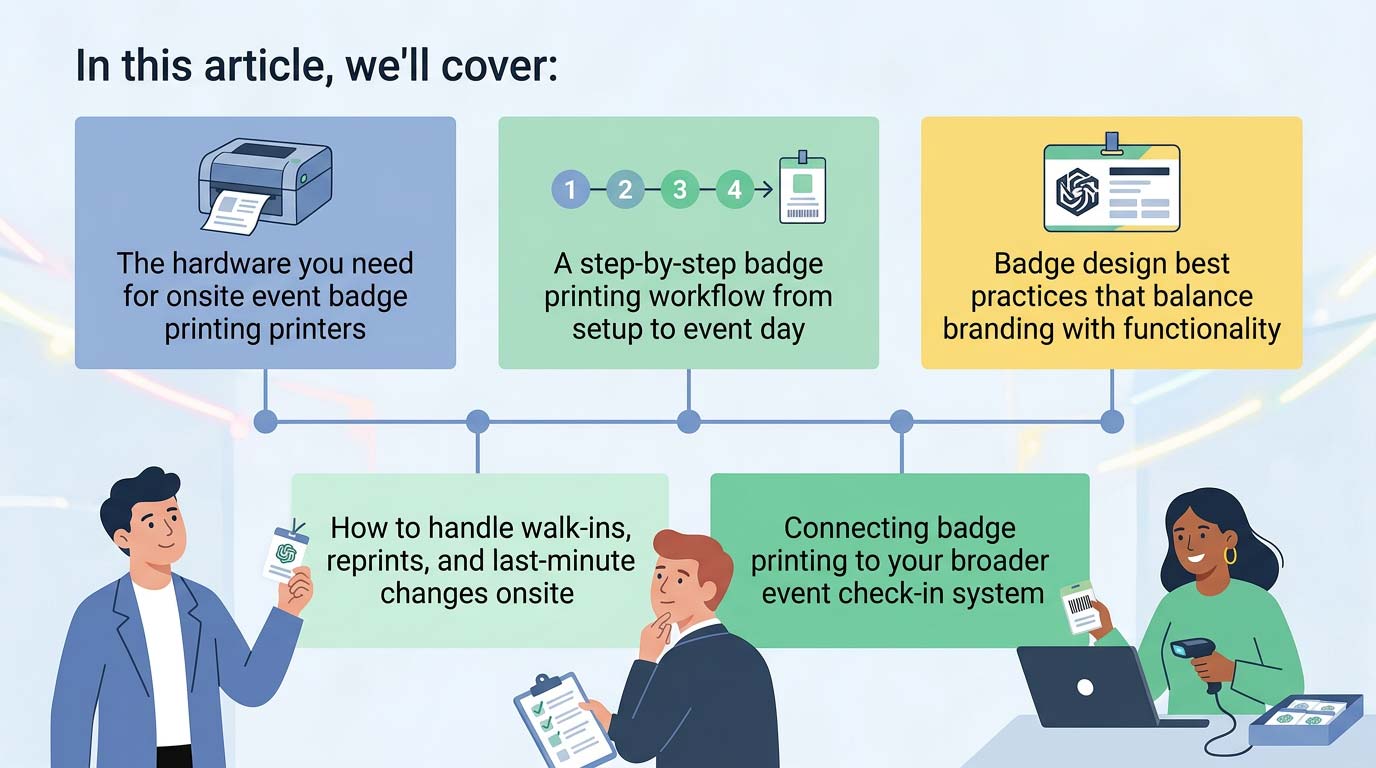
In this article, we'll cover:
- The hardware you need for onsite event badge printing (printers, kiosks, and scanners)
- A step-by-step badge printing workflow from setup to event day
- Badge design best practices that balance branding with functionality
- How to handle walk-ins, reprints, and last-minute changes onsite
- Connecting badge printing to your broader event check-in system
What Is Onsite Event Badge Printing and Why Does It Matter?
The days of pre-printing badges and sorting them into alphabetical bins are over. That approach creates waste, can't handle late registrations, and leaves your team scrambling when an attendee's name is misspelled or a walk-in shows up without a badge. Onsite event badge printing flips the process. Instead of printing badges days before your event and hoping the data stays accurate, you print each badge on demand at the moment of check-in. The attendee arrives, scans their QR code or looks up their name, and a professional, fully branded badge prints in seconds. This approach is now the standard for conferences, trade shows, and corporate events that take their event check in software seriously. It eliminates waste, accommodates last-minute changes, and creates a polished first impression that sets the tone for the rest of the event. Let's walk through the equipment, workflow, and best practices that make onsite event badge printing work.Essential Equipment for Onsite Event Badge Printing
Getting onsite event badge printing right starts with choosing the right hardware. You don't need a complicated setup, but the components you select will directly impact speed, print quality, and reliability on event day.Badge Printers
This is the centerpiece of your setup. There are two primary categories: Direct thermal printers are the most popular choice for onsite event badge printing. They use heat-sensitive paper and require no ink, toner, or ribbons. They're fast (printing a badge in 2-5 seconds), reliable, and low-maintenance. Zebra and Brother are the most widely used brands in the event industry, with models like the Zebra ZD421 and Brother QL-820NWB offering Wi-Fi and Ethernet connectivity for flexible placement. Inkjet or color printers are used when you need full-color badges with photos, gradients, or detailed sponsor artwork. The Epson ColorWorks C3500 is a popular choice for events that require higher-fidelity badge printing. Color printers are slower and require more maintenance (ink cartridges, maintenance boxes), but they produce visually richer badges.💡 Pro tip: For most conferences and trade shows, direct thermal printers paired with pre-printed color badge shells offer the best of both worlds. You pre-print the full-color design (logos, sponsor branding, background graphics) and then thermal-print the variable attendee data (name, title, company, QR code) on demand at check-in. This hybrid approach is the industry best practice for speed, quality, and cost.
Check-In Kiosks (Tablets or Laptops)
Each badge printing station needs a device running your event check-in software. Most platforms support iPads, Android tablets, or Windows laptops. The device displays the check-in interface, captures the attendee's identity (via QR scan or name search), and triggers the badge print. For self-service check-in, mount the tablet in a kiosk stand so attendees can walk up, find their name, and print their badge without staff assistance. For staff-assisted check-in, a laptop or tablet at a registration desk works well. How many kiosks do you need? A good rule of thumb: two complete badge printing kiosks (device + printer) can process roughly 400 attendees per hour. For a 1,000-person event with a two-hour check-in window, plan for at least three stations, plus one backup.QR Code Scanners
While most tablets can scan QR codes using their built-in camera, a dedicated barcode scanner is faster and more reliable. It removes the need for attendees to hold their phone at exactly the right angle and distance. Scanners like the Honeywell Voyager or Zebra DS2208 are affordable and dramatically speed up the scan-to-print workflow. One hardware note to plan for: most traditional barcode scanners use USB-A connectors, but modern iPads and Android tablets use USB-C. You'll need a USB-C to USB-A adapter (sometimes called a dongle) to connect the scanner to your tablet. Test this connection during your pre-event setup, not on event morning. Alternatively, look for newer scanner models that offer native USB-C or Bluetooth connectivity to skip the adapter entirely.Networking Equipment
Your badge printing stations need to communicate with each other and with your registration database. For events where venue Wi-Fi is unreliable (which is more common than you'd think), bring your own router. A dedicated local network ensures that your kiosks and printers stay connected even if the venue's internet drops. Many onsite event badge printing platforms support offline mode, caching attendee data locally so check-ins continue uninterrupted. But a stable local network is still essential for syncing data across stations and sending prints to shared printers.Badge Stock and Consumables
Don't overlook the physical badges themselves. Common options include:- Adhesive label badges that stick onto pre-printed badge shells (the hybrid approach)
- Full-page insert badges printed on cardstock and slipped into a plastic holder
- Direct-print badges where the entire badge is printed on thermal or inkjet stock
The Onsite Event Badge Printing Workflow: Step by Step
A smooth onsite event badge printing workflow isn't just about having the right equipment. It's about sequencing every step so the attendee experience feels effortless. Here's the workflow from setup to event day.Pre-Event Setup (1-2 Days Before)
Design your badge template. Use your event check-in software's badge designer to create templates for each attendee type (general attendee, VIP, speaker, exhibitor, staff). Include the attendee's name in large font, their organization, a scannable QR code, and any role-based color-coding or icons. Configure your hardware. Set up each kiosk station: connect the tablet or laptop to the printer, install the check-in app, and sync attendee data from your registration platform. If you're using networked printers shared across multiple kiosks, configure the network routing. Test everything. Process at least 10 test check-ins per station. Print test badges. Verify that the data pulls correctly, the badge layout looks right, and the printer speed meets your expectations. Replace any consumables (label rolls, ink cartridges) that are running low.✨ Expert Advice: Ship your hardware to the venue at least one day early and do a full dry run. A 30-minute rehearsal on-site catches problems (power outlet locations, Wi-Fi dead zones, table height issues) that you'll never discover in your office. Bring backup printers and extra badge stock, because the one thing you can predict about event day is that something unpredictable will happen.
Event Day Workflow
- Attendee arrives at the check-in area
- Attendee scans QR code from their confirmation email (or a staff member searches by name)
- System verifies registration and pulls attendee data
- Badge prints automatically at the connected printer
- Attendee picks up badge and enters the event
Handling Walk-Ins and Day-Of Registrations
Your onsite event badge printing setup should handle walk-ins seamlessly. The process looks like this: the walk-in registers on the spot (either at a dedicated station or through a staff member), their data enters the system, and their badge prints immediately, just like any pre-registered attendee. Set up at least one station specifically for walk-ins and onsite registration so they don't slow down the pre-registered event check-in line.Badge Design Best Practices
Your badge isn't just a name tag. It's a networking tool, an access credential, and a piece of event branding that attendees wear all day. Here's how to design badges that work. Name first, everything else second. The attendee's name should be the most prominent element on the badge, readable from 6-8 feet away. Use a minimum 24pt font. Their organization or title goes underneath in smaller text. Use color-coding for attendee types. Different badge colors or accent bars for attendees, speakers, exhibitors, VIPs, and staff help everyone identify who's who at a glance. This is especially valuable on trade show floors where exhibitors need to spot potential leads quickly. Include a scannable QR code. A QR code on the badge enables exhibitors to scan attendees for lead capture, simplifies session tracking, and supports access control at restricted areas. If you're working with exhibitor management software, QR-enabled badges connect the event check-in experience directly to the lead retrieval workflow on the show floor. Don't clutter the badge. It's tempting to add sponsor logos, event schedules, Wi-Fi passwords, and more. Resist the urge. A clean badge with essential information (name, org, QR code, attendee type indicator) is more functional and more professional than one crammed with text.⚡ Practical Advice: Use the back of the badge for non-scannable secondary information like Wi-Fi credentials, venue maps, or sponsor acknowledgments. Keep your QR code on the front of the badge, always. If exhibitors have to flip badges to scan for lead retrieval, you've created a friction point that slows down every interaction on the show floor. Front of badge = name, org, QR code. Back of badge = everything else.
Common Onsite Badge Printing Mistakes (and How to Avoid Them)
Even with great equipment and a solid workflow, badge printing can go sideways if you're not prepared for the realities of event day. Here are the most common pitfalls. Not enough printer backup. Printers jam. Label rolls run out mid-rush. Always bring at least one extra printer per check-in area. The cost of a backup printer is nothing compared to the cost of a stalled check-in line with hundreds of attendees waiting. Ignoring font size on badges. Badges with 12pt or 14pt name text look fine on screen but are unreadable in a crowded event hall. Go bigger than you think you need. If a name is too long for large text, your badge designer should truncate or auto-resize gracefully. No offline plan. If your onsite event badge printing system relies entirely on cloud connectivity and the venue Wi-Fi goes down, you're stuck. Confirm that your platform supports offline check-in and local data caching before event day. Skipping the rehearsal. Setting up badge printing for the first time on event morning is asking for trouble. Thermal printers need calibration. Kiosk apps need syncing. Network routing needs testing. Do all of this the day before. Mixing up badge stock. If you're using the hybrid approach (pre-printed shells + thermal labels), make sure the label alignment matches the shell layout. A misaligned label looks unprofessional and wastes stock. Run alignment tests during your pre-event setup.Connecting Badge Printing to Your Event Check-In System
Onsite event badge printing works best when it's fully integrated with your event check-in workflow, not bolted on as an afterthought. When badge printing and event check-in live in the same platform, you get real-time data accuracy. The moment a badge prints, the system logs the check-in. There's no gap between "badge printed" and "attendee marked as arrived." This matters for attendance reporting, session tracking, and sponsor deliverables. Integration also means that any change in the registration system (a name correction, a ticket upgrade, a cancellation) is reflected instantly at the badge printing station. Your onsite team doesn't need to manage a separate attendee list or worry about stale data. Expo Pass connects onsite event badge printing directly to registration, check-in, session tracking, and lead retrieval. Badges print in seconds with accurate data, QR codes enable exhibitor lead scanning, and real-time dashboards show exactly who has arrived. For event teams that want a system where badge printing and event check-in work as one connected operation, it's built for exactly that. Find out more »Final Takeaway
Onsite event badge printing is no longer a nice-to-have feature. It's the standard for professional events that want accurate badges, fast check-in, zero waste, and the flexibility to handle whatever event day throws at you. The formula is straightforward: reliable hardware (direct thermal printers, tablets, and scanners), a well-rehearsed workflow, clean badge designs, and a platform that integrates badge printing with your event check-in system from end to end. Get those pieces right, and your attendees walk in with a great first impression before a single session begins.Frequently Asked Questions
What equipment do I need for onsite event badge printing?
At minimum, you need a tablet or laptop running your event check-in software, a badge printer (direct thermal for speed or inkjet for full color), badge stock or label material, and a QR code scanner. For events with 500+ attendees, add a dedicated router for local networking and at least one backup printer.How fast can badges be printed onsite?
Direct thermal printers produce a badge in 2-5 seconds. Including the attendee's scan or name lookup, the full check-in-to-badge process typically takes 15-30 seconds. Self-service kiosks can process roughly 60 - 120 attendees per hour per station.Should I use direct thermal or inkjet printers for badge printing?
Direct thermal printers are the best choice for most events. They're faster, require no ink or toner, and are extremely reliable. Use inkjet or color printers only when your badge design requires full-color photos, gradients, or detailed artwork that thermal printing can't reproduce.Can onsite badge printing handle walk-ins and last-minute registrations?
Yes. On-demand badge printing is designed for exactly this scenario. Walk-ins register at a dedicated station, their data enters the system, and their badge prints immediately, just like any pre-registered attendee. No handwritten stickers, no generic "GUEST" badges.What's the hybrid badge printing approach?
The hybrid approach uses pre-printed, full-color badge shells (printed in advance with your event branding, sponsor logos, and design) combined with on-demand thermal printing of variable attendee data (name, title, QR code) at check-in. This gives you the visual quality of professional printing with the flexibility of on-demand personalization.How does badge printing connect to lead retrieval for exhibitors?
When each badge includes a scannable QR code, exhibitors can scan attendees at their booth to capture lead information instantly. The best platforms pass rich attendee data (name, title, company, custom registration fields) to the exhibitor's lead list, connecting the check-in and badge printing workflow to post-event ROI.Keep reading
Event Registration
Expo Pass Partners with RSVPify to Bring Seamless Badge Printing to More Events
At Expo Pass, we’re all about delivering flawless first impressions at your conferences and events with premium on-site badge printing...
Bring your next event to life.
See how Expo Pass powers registration, check-in, and engagement from start to finish.
Get a demo